Security wiring is one of the cheapest jobs in a self build while the walls are open, and one of the messiest once they are closed. Decide where the alarm panel, keypads, detectors, cameras and door entry will go before first fix, and run a cable to every position, including the ones you may not fit on the day you move in. In a new house, a cable to each device beats wireless for reliability and keeps the outside tidy.
This guide covers the alarm, the cameras and access at the front door and the gate: what to run, where it goes, and who is allowed to install it. All three meet at the comms cabinet, so plan that first if you have not already.
Start with a security plan on the drawings
Before anyone talks about products, mark up a copy of your plans: every external door, the ground floor windows and glazed doors, the garage and outbuildings, the driveway and the gate. Then think about how the house will really be used. On many one off rural houses the front door is hardly used and everyone comes and goes through the back door or the utility, which changes where the main alarm keypad should go.
Next, decide what the system should do: an alarm that alerts your phone or one that is monitored, cameras you can watch from anywhere, and a video intercom you can answer from the kitchen or from abroad. Brands can wait, but these answers decide the cables. Bring your architect in early too, because bell boxes, cameras and gate pillars all show on the elevations and the site plan.
Wiring the intruder alarm
The alarm panel is the heart of the system, and it should not sit beside the front door where an intruder can reach it in seconds. A cupboard inside the protected area works well, ideally near the comms cabinet so a short data cable can connect the panel to your network for the app and any monitoring. The panel needs its own unswitched fused spur, and every alarm cable in the house finishes here.
- Keypads. One at the door you use most, and another at the garage or side door if people come in that way. Some families also like one on the landing or in the main bedroom to set the alarm at night.
- Detectors. Halls, landings and the ground floor rooms someone would pass through. Run a separate cable from each detector back to the panel, rather than looping several together, so each one can have its own zone and a fault is easy to trace.
- Doors and windows. A contact on every external door is the starting point. If you want contacts on opening windows too, ask your window and door supplier whether they can fit concealed contacts or prepare the frames for them, and ask before the order is placed.
- Sounders. An external bell box where it can be seen from the road, and perhaps a second one at the rear, each with its own cable.
A panel that also accepts wireless devices can still cover a shed, stable or garden room added later. If you want the alarm monitored, the monitoring centre must be licensed by the Private Security Authority (PSA) as well.
Cameras: a Cat6 cable to every position
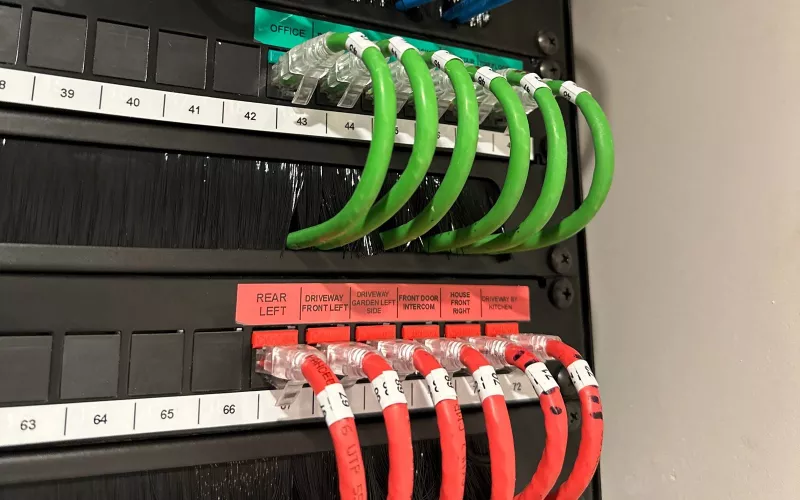
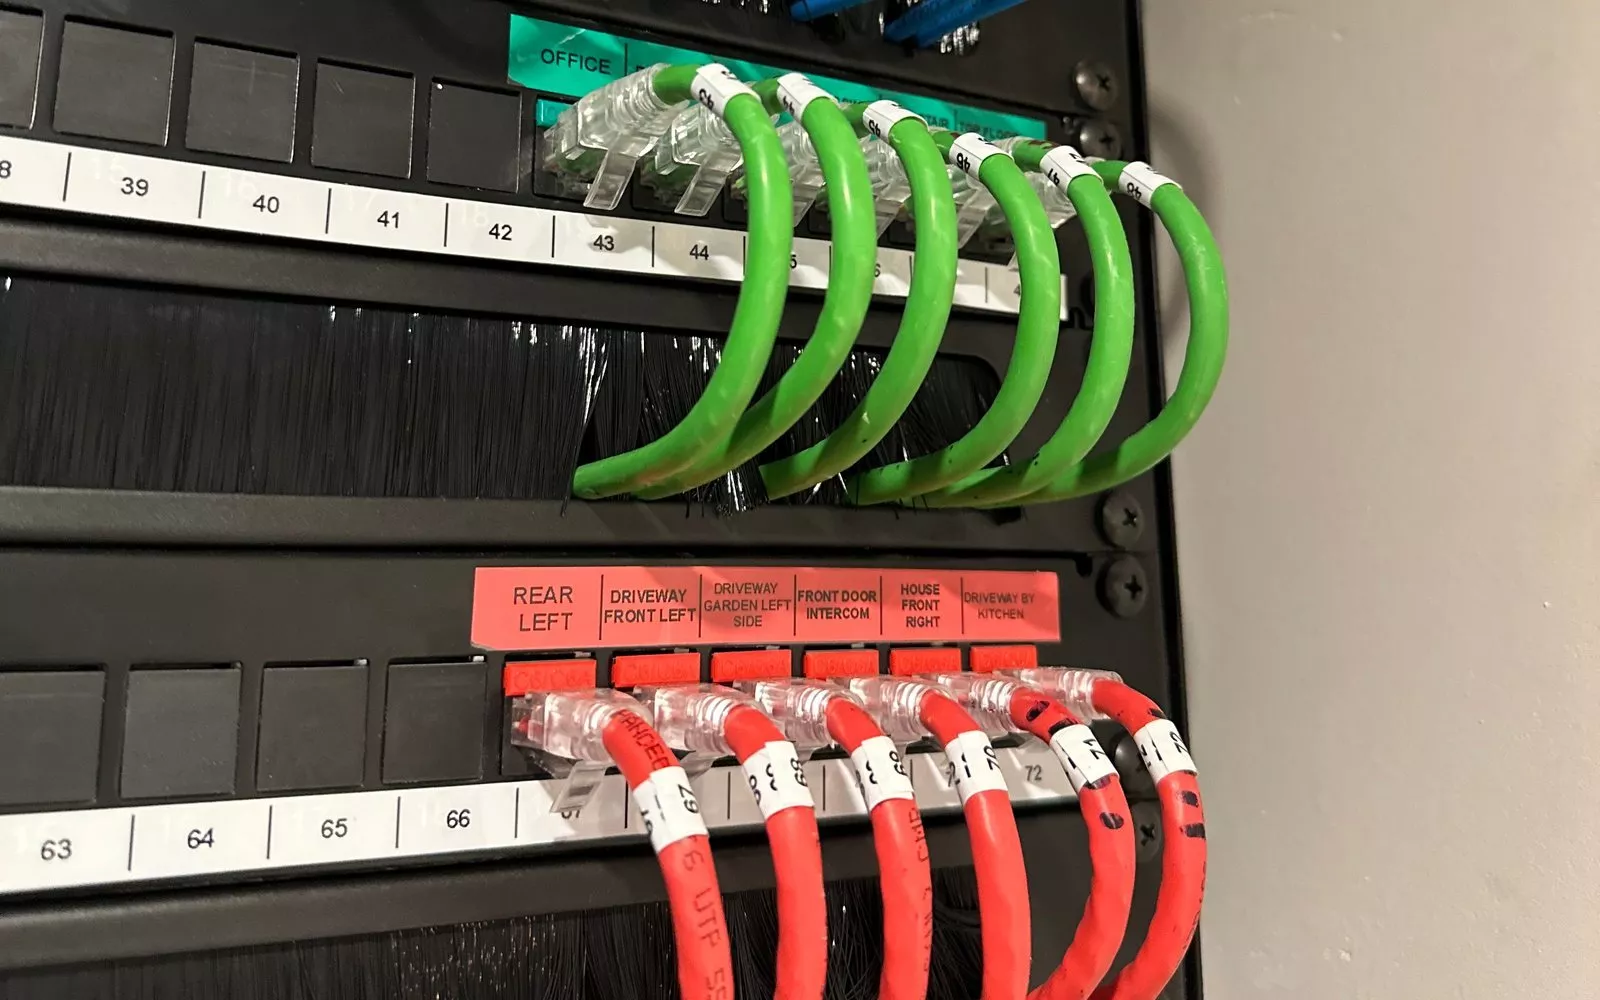
Run one Cat6 cable from each camera position back to the comms cabinet. A network camera takes its picture and its power over that single cable (Power over Ethernet), from a switch in the cabinet, so there is no socket to find outside. The recorder belongs in the cabinet too, not on a shelf where a burglar can carry it out with the television. It is the same cabling as your whole home network, so plan the two together.
Place each camera high enough to be out of reach but low enough to see a face, and where you can get to it again without scaffolding. Most camera cables come out through the soffit or an external wall, so they must be in before the soffits and cladding go on. Lit doors and driveways help the cameras at night, and a small battery backup for the router, switch and recorder keeps them recording through a short power cut; the alarm panel has its own standby battery.
Plan the camera views with the law in mind. The Data Protection Commission's guidance on domestic CCTV explains that once a camera records beyond your own property, such as a public road, a footpath or a neighbour's garden, the household exemption no longer applies and data protection law does. Point cameras at your own grounds, and use the camera's privacy zone feature to black out anything beyond them. The same goes for a video doorbell.
Door entry, gates and access
A video intercom at the front door needs a Cat6 cable to the door, plus somewhere inside to answer it: a screen in the kitchen, a touch panel or simply your phone. For an electric gate, lay ducts with draw cords from the house to the gate pillars while the groundworks are open, one for power and one for data and control. On a long driveway, ask your designer whether the run needs fibre or a wireless link instead of copper cable.
Keyless entry is only easy to add later if the door was made for it. An electric release or motorised lock needs power at the frame, and a lock in the door itself needs a way to get power into the door leaf, so tell your door supplier before the doors are made. The same goes for the garage door and any side gate or outbuilding: a duct and a data cable now saves digging up the drive later.
Lighting, the smart home and one button for the night
Security works best as part of the whole house. Outside lights on the driveway, paths and doors deter unwanted visitors and help the cameras, and our lighting design guide for self builders covers laying those cables with the groundworks. With home automation, one "goodnight" button can set the alarm, switch off the lights and lower the blinds, with the alarm, cameras and intercom on one touch panel or app. On a developer's luxury new build, for example, we installed the intruder alarm with a keypad indoors and 1Install bell boxes outside, lighting inside and out, and structured cabling for a fuller system later.
Your security wiring checklist
| Position | What to run | Decide by | Who needs to know |
|---|---|---|---|
| Alarm panel | An unswitched fused spur and a data cable to the comms cabinet | Before first fix | Electrician |
| Keypads and detectors | A separate alarm cable from each one to the panel | Before first fix | Electrician |
| External doors and windows | Cable to each door frame, and to the window frames that will have contacts | Before the windows and doors are ordered | Window and door supplier |
| Bell boxes | Alarm cable to each sounder position, through a sealed entry | Before the airtight layer is closed | Architect, builder |
| Cameras | Cat6 from each camera position to the comms cabinet | Before the soffits and cladding go on | Builder, electrician |
| Front door intercom | Cat6 to the door position, and to any screen inside | Before first fix | Door supplier, electrician |
| Gate, garage and outbuildings | Ducts with draw cords for power and data | Before the groundworks are backfilled | Groundworker, gate installer |
| Comms cabinet | Power, room for the recorder and network switch, and a battery backup | At design stage | Architect, electrician |
Who installs it: licences and electricians
In Ireland, a contractor who installs intruder alarms, CCTV or access control must hold a PSA licence. The Private Security (Licensing and Standards) Regulations 2023 set out the licence categories and the standards each one works to: alarm installers, for example, work to the European alarm standard EN 50131, and since October 2025 the access control licence has included a PSA standard for powered gates. The PSA keeps a public register of licensed contractors on its website, so always check an installer's PSA licence before you hire them, whoever recommends them.
1Install is PSA licensed for intruder alarms and CCTV. Our founder, Kieran McGuire, is an electrician, as are a few of our team, so our cable schedules are written the way electricians work. Your electrician can pull the cables to our schedule, or we can run them ourselves; either way, we can check them before the walls are closed, then return at second fix to install, programme and test the system. Our survey and design service produces the drawings and cable schedule for every system, and our first fix wiring guide covers the rest of the house, including how to protect your airtightness test.
Questions we are often asked
Is a wired or wireless alarm better in a self build?
Wired, wherever the walls are still open. Wired detectors have no batteries to replace and no radio signal to lose, and the cable costs very little at first fix. Wireless devices are still useful for outbuildings and later additions.
Does my alarm installer need a licence?
Yes. In Ireland, a contractor who installs intruder alarms, CCTV or access control needs a licence from the Private Security Authority, and so does an alarm monitoring centre. Check the installer on the PSA's public register before you agree anything.
Can my own electrician run the security cables?
Yes. We give your electrician a cable schedule with every keypad, detector, camera and intercom position, can check the cabling at first fix, and then install, programme and commission the system at second fix.
Can my cameras see the road?
Try to avoid it. The Data Protection Commission's guidance is that recording a road, a footpath or a neighbour's garden brings you under data protection law, so angle the cameras at your own grounds and use privacy zones for the rest.
Can the alarm work with my smart home system?
Often, yes. With home automation, the alarm can be set from the same keypad or app as the lights, as part of a "goodnight" scene. Check before you choose the alarm, because not every panel connects to every system.
Your cameras, intercom and alarm app all rely on a good network, so plan it now too. Send us your floor plans and we will mark the Wi-Fi access points, list every Cat6 run and price the kit, free and with no obligation: see our free Wi-Fi design offer for self builders.
Book a consultation or call Dublin on 01 906 9326 or Cork on 021 202 8107.
- Log in to post comments